Introduction
This tutorial covers the following topics
- Can PDFExplode work with any PDF?
- How to extract a single chapter from a PDF
- How to rename and extract all chapters as separate PDFs
- How to work efficiently using keyboard shortcuts
Exploding the Scrivener 3 User Manual
In this tutorial, we will explode a 880-page PDF document into several PDFs, one for each of the 26 chapters in the original PDF. The PDF selected for this exercise is the Scrivener 3 User Manual, which is available for download from the Scrivener support page. Scrivener is an excellent app for writers, and is available on the Mac App Store.
Figure 1 shows that the Scrivener Manual PDF does not have security settings applied to it. This is important because PDFExplode is unable to process locked or encrypted PDFs. In Figure 2, we’ve opened the Scrivener Manual in Preview.app and enabled the Table of Contents sidebar (via the View menu). The Scrivener Manual has a detailed Table of Contents (TOC), which defines chapters and sections within the document.
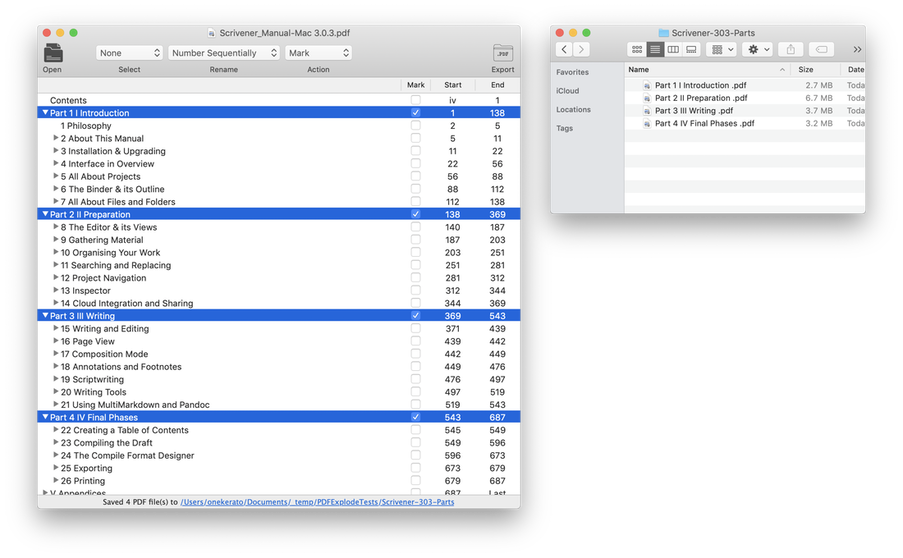
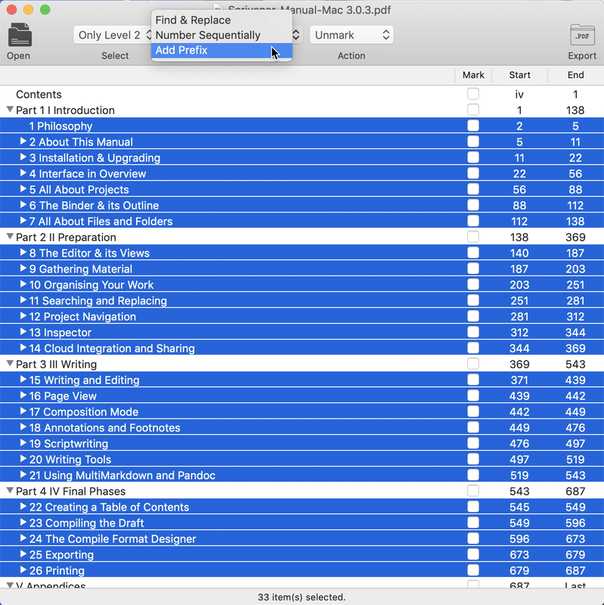
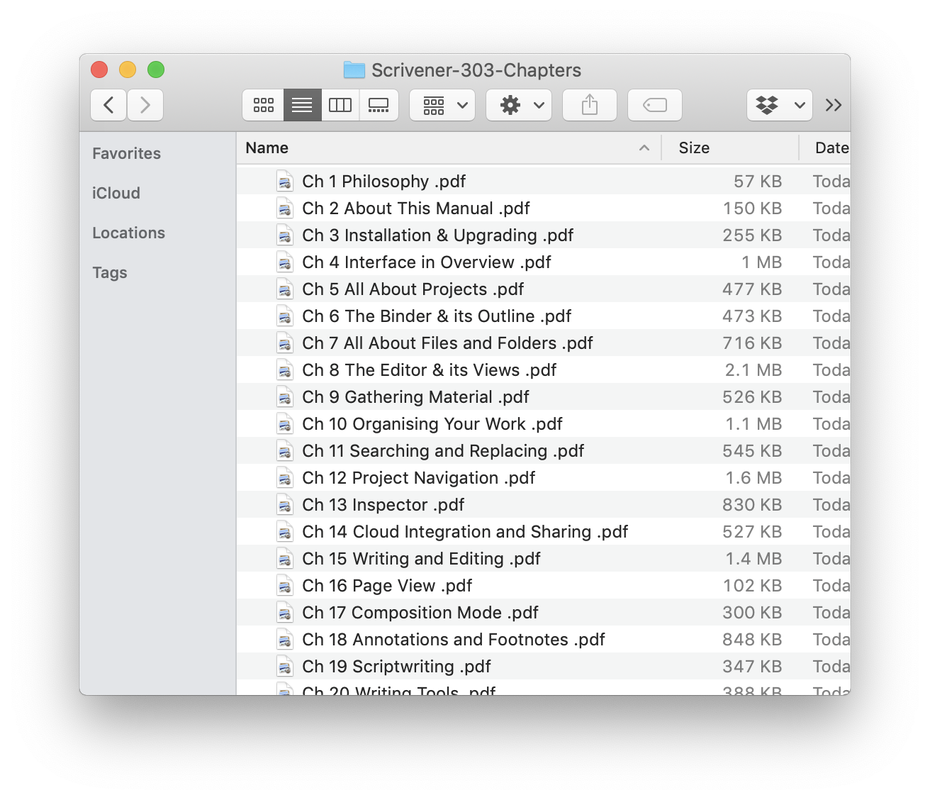
PDFExplode can create PDFs out of any TOC entry.
When PDFExplode attempts to open a PDF that does not have an embedded TOC, you will be shown an alert. The alert will provide a link to PDFOutliner, a cost-effective utility for macOS that can automatically construct a TOC for your PDF by detecting the flow of font changes in the PDF. PDFOutliner is sold separately on the Mac App Store.
When you launch PDFExplode, you will see the screen in Figure 3. Simply drag a PDF into the main view, or use the File → Open… command, or use the Open button on the toolbar, to have PDFExplode open the Scrivener User Manual.
PDFExplode reads and displays the TOC embedded in the PDF (Figure 5). Note that the grey triangles to the left of certain TOC entries in the first column enable you to expand the listing and dig into deeper “levels” of the TOC.
In PDFExplode, any TOC entry can be marked for export as a separate PDF to a folder using the second column titled “Mark”. The filename of the exported PDF corresponds to the text shown in the first column, which is editable. The last two columns show the range of pages exported corresponding to each TOC entry. For example, if any high-level TOC entry is exported, the page range corresponds to the range of all its child TOC entries.
PDFExplode preserves any nested TOC entries and PDF annotations from the original PDF in the exported PDFs.
In PDFExplode, you can double-click on any TOC entry to create a new PDF in a temporary directory. The new PDF automatically opens in the default PDF viewer (Preview.app in Figure 6). In this case, we double-clicked on the “Preparation” TOC entry from the Scrivener Manual which contains several child TOC entries, all of which are faithfully recreated in the newly generated PDF (to see the TOC, ensure that View → Table of Contents is enabled in Preview.app)
Troubleshooting Tip: For TOC entries where the content does not end at the bottom of a page, potentially for level 3 or level 4 TOC entries, the PDF generated by the double click may exclude the last page of the section. If so, hold down the Command ⌘ key while double-clicking to include the last page of the section correctly.
Now, let’s look at the three drop-down controls on the toolbar in PDFExplode. These three controls are labeled “Select”, “Rename” and “Action”.
- The Select control allows you to easily select all TOC entries that match specific criterion such as “Select all Level 2 entries.” For example, this allows you to easily select the rows corresponding to the 26 chapters in the Scrivener Manual. Use Select All or Select Invert to modify which TOC entries are selected.
- The Rename control allows you to edit the filenames of the generated PDFs easily. The Rename control only works on the Selected rows. It is possible to find & replace text, sequentially number the selected TOC items, or add a Prefix such as “Chapter”.
- The Action control allows you to mark or unmark TOC items to be exported. Or you can expand or collapse TOC entries, or delete the selected TOC entries. The Action control only works on the Selected rows. Note that only the marked TOC entries will be exported to separate PDFs using the red “Export” button on the far right of the toolbar.
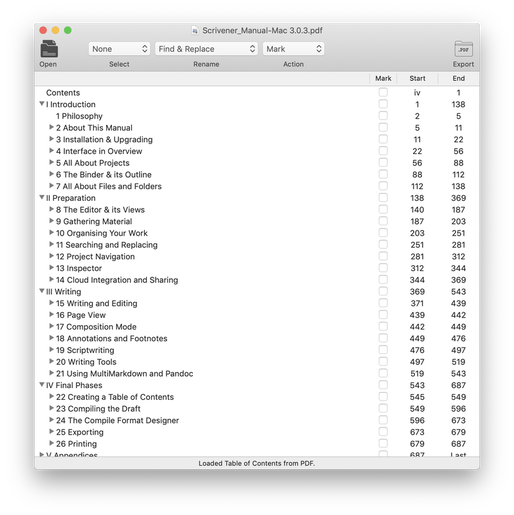
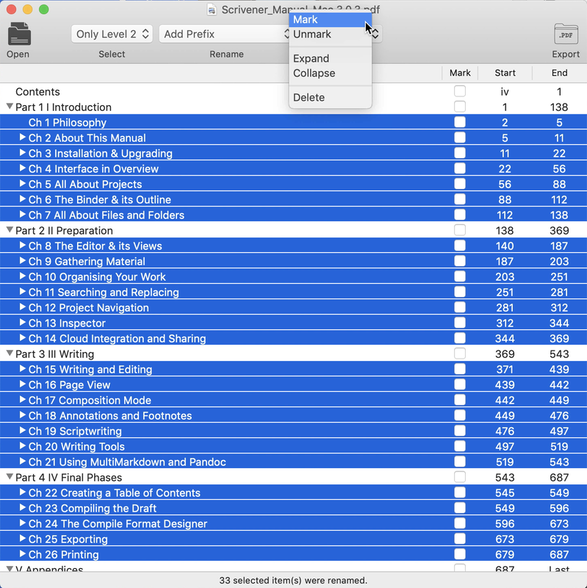
Modifying or deleting the TOC rows in PDFExplode does NOT change the original PDF.
Rename PDFs before Export
In Figure 7, we’ve selected the main topics (highlighted in blue) and we’ll use the Rename control to sequentially number these as “Part 1” to “Part 4”, using the settings shown in Figure 8. Then, use the “Mark” option in the Action control to mark these TOC entries for export. Then click the Export button on the toolbar. When exported to a folder, the PDFs corresponding to these TOC entries will be in the correct alphabetical order (Figure 9).
Exploding Chapters
To conclude this tutorial, below are the steps to explode each chapter of this 26-chapter Scrivener Manual into separate PDFs.
- Select All TOC entries via the Select control on the toolbar, or from the Edit → Select menu or using the keyboard shortcut ⌘ A. All rows are now highlighted in blue.
- Unmark all Selected TOC entries for export using the Action control on the toolbar, or from the Edit → Action menu, or using the keyboard shortcut SHIFT ⌘ M (Figure 10.)
- Select all Level 2 TOC entries via the Select control and choosing “Only Level 2”, or use Edit > Select menu, or use the keyboard shortcut ⌘ 2. All rows corresponding to chapters are now selected & highlighted in blue.
- Use the Rename control (Figure 11) to sequentially number the selected chapters with the “Ch” prefix. The keyboard shortcut is SHIFT ⌘ N.
- Keeping the chapter TOCs selected, use the Action menu to mark all chapters for export (Figure 12). The status bar at bottom of PDFExplode window confirms “31 item(s) marked for export.”
- Click the “Export” button on the toolbar to select a Folder to export. The status bar at bottom of the PDFExplode window shows progress, and when all PDFs have been written, provides a clickable hyperlink to the output Folder (Figure 13).
Cleaning up the TOC
If you follow these instructions exactly, you will have more than 26 chapters because each of the Appendices will also be exported as chapters. To exclude the Appendices, select the top-level Appendices TOC entry and delete it using the delete key on the keyboard or via the Action control → Delete option on the toolbar. Note that edits to the TOC rows in PDFExplode do NOT change the TOC in the original PDF.
Additional Support for PDFExplode
- Email: For support queries, bug reports and feedback, please email onekerato@me.com including, where possible, the original PDF to help us replicate a bug. Kindly do not send the PDF as an email attachment – instead please provide a URL to the PDF using a web service such as dropbox.com. Many thanks!
- For feature requests, kindly send an email to onekerato@me.com
- Website: Visit onekerato Software on the web at onekerato.com for a listing of scenarios where these PDF apps are useful, for information on PDFOutliner, and for direct links to the Mac App Store.
- YouTube: Visit the onekerato YouTube channel for video tutorials.